Plumbing Pictures
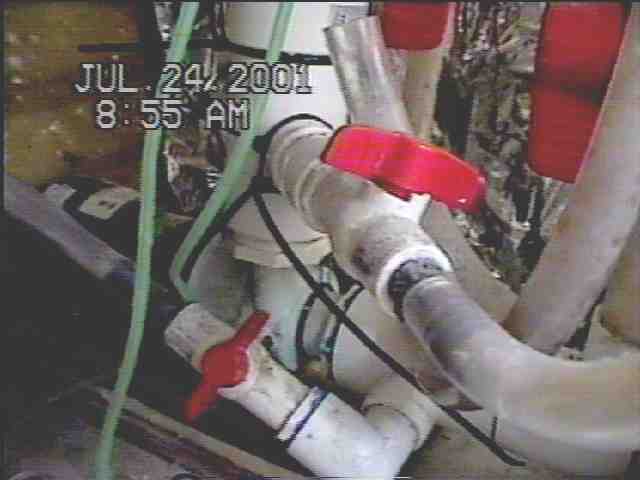
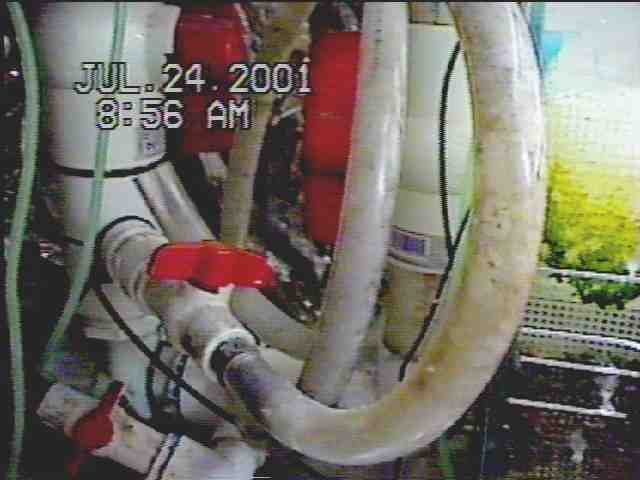
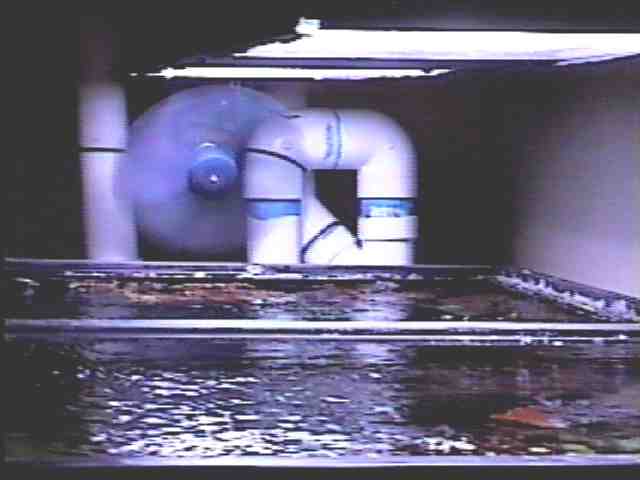
In this picture you can see 4 red ball valves in close proximity to the pump. two 2 inch valves, and two 3/4 inch valves. The 2 inch valve above the pump, allows the the flow to be stopped
from going to the tank. This is useful when the 3/4 inch valve above the pump is opened. This is done to pump the water out of the sump to a long hose, down the drain, into the
septic tank. When doing a water change on this tank, I would mix up new salt water slightly saltier than the reef aquarium water; often by adding fresh water to the reef tank to make
it slightly lower in salinity. By pumping the new water from the mixing barrels into the reef tank through a hose with a sock on the end, the new water would stay at the bottom of
the tank. You could see the level of the new water at the bottom of the reef tank, slowly increase upward, while the old water went over the overflow and into the sump. The water from
the sump would get pumped out and down the drain in the bath tub in the bathroom. In this manner, I would do a 50% water change in the reef tank without ever lowering the water level
in the reef. The 2 inch valve to the right of the pump was to be able to close it to keep water in the pipe that goes over into the sump, to keep water in it whenever the pump was to
be worked on. The 3/4 inch valve below the pump was to be able to pull a vacuum should the pipe going into the sump need to be re-primed.
|
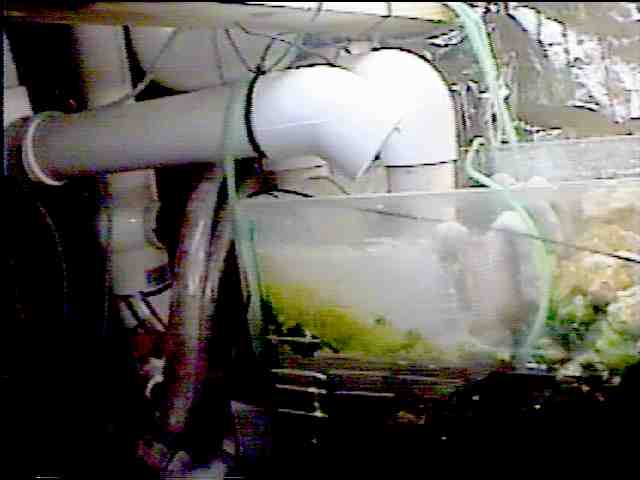
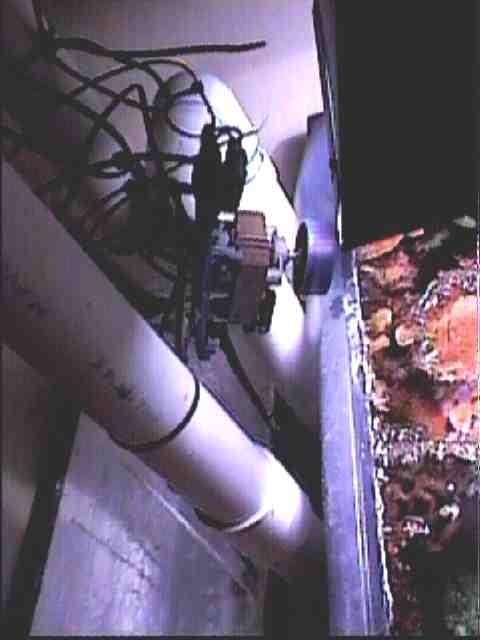
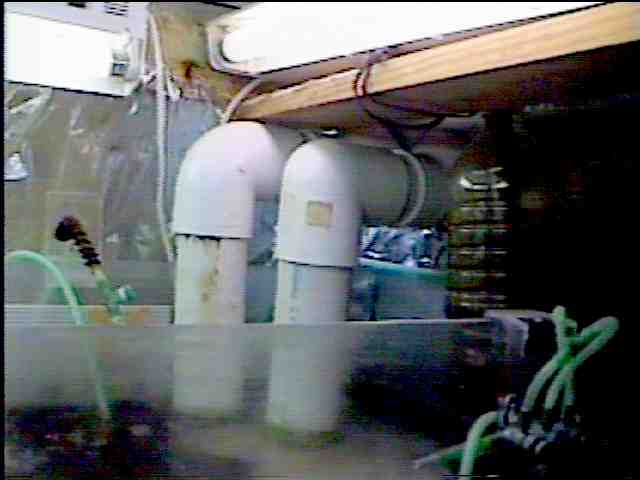
Here you can see 2 pipes going to the sump. One is the pipe that feeds into the pump. The open one in front is the back pressure and anti-air-lock that hooks up to the Y fitting
above the reef tank. Water never exits this pipe, but if it did, it would indicate a problem of excessive back pressure. What it actually does, is when the power is turned off, it
allows air to be sucked in so that the plumbing does not drain the tank when the power goes off. A check valve could be used instead, but a check valve is guaranteed to fail.
|
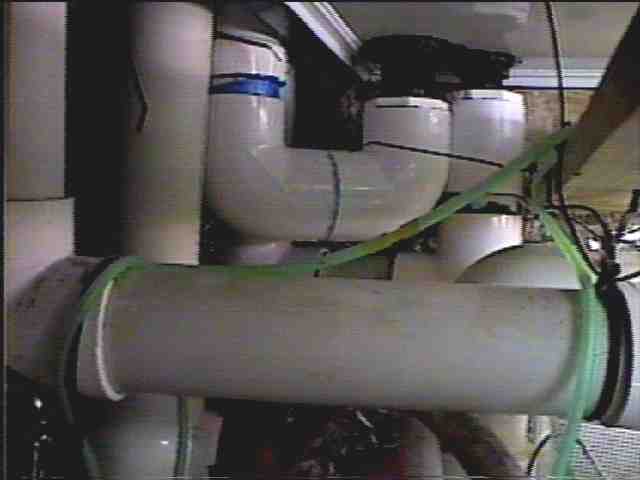
In the back you can see where the water enters the bottom of the tank. I used both bulk head fittings to send water into the tank. Using both bulk head fittings was unnecessary. One would have
been fine. In fact in my 3rd cement tank, I only used one bulkhead fitting for sending water into the reef tank.
|
The bulk of the plumbing you see here is empty with air. Back pressure causes the water level in the pipe to the back to be a little higher than the water in the reef tank. But the
plumbing
is plenty high so that it is unlikely that any water will get high enough to spill over through the pipe and down into the sump. The ball valve there was added in case I decided to
drain the tank. Simply closing the ball valve and turning off the pump would allow the reef tank to be completely drained. There's not much of a need for this, so on the 3rd cement
tank, I did not put a ball valve there.
|
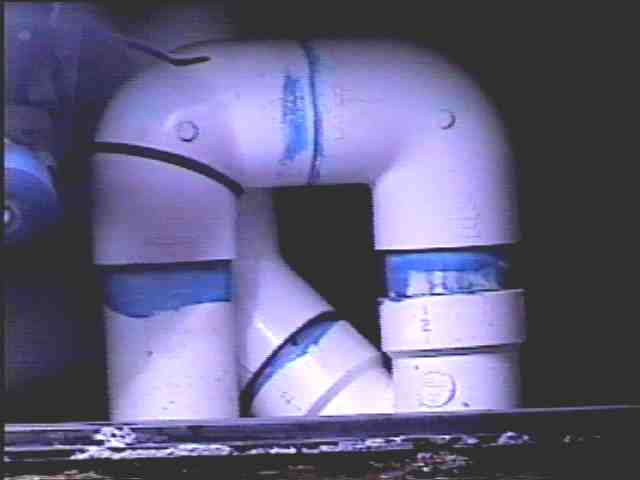
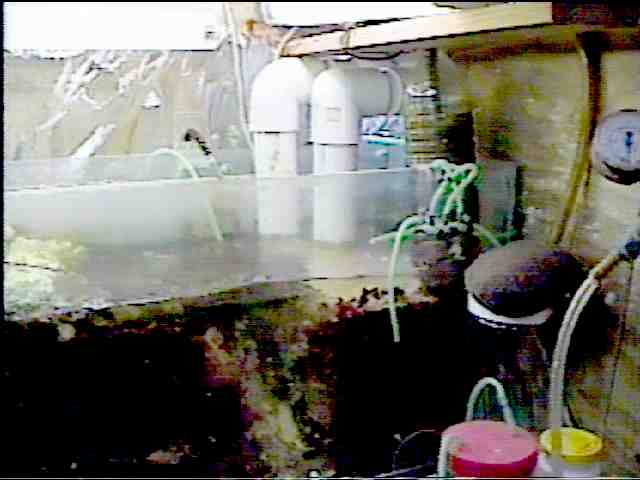
This is how the back-flow preventer works. The pipe on your left is all air. It goes down to the top of the sump, just in case it should get water. The upside down U is where the water
flows. It flows up from the left side of the U and down the right side of the U. Connected to the right side of the upside down U is a Y. This Y is connected
to a pipe that goes up in the air close to the ceiling, and then back down to the pump as described. So water goes up in the middle of the picture, and goes down on the right side of the
picture.
|
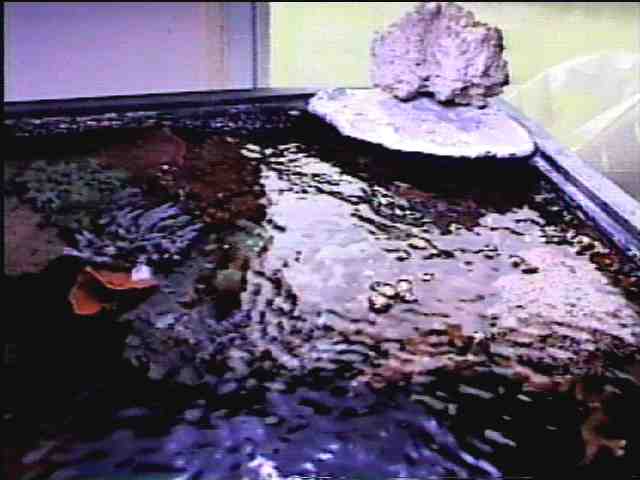
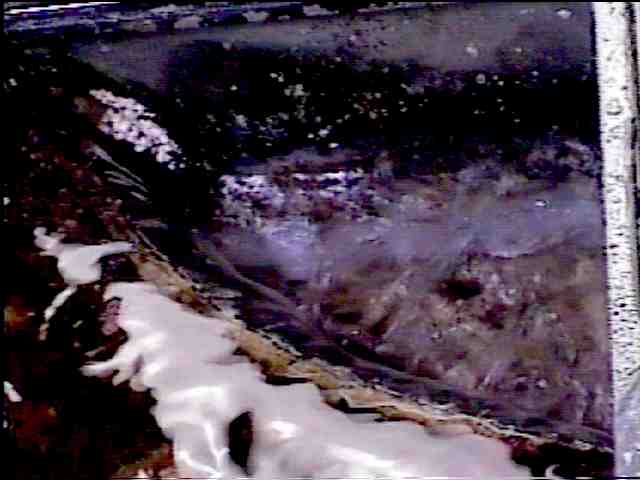
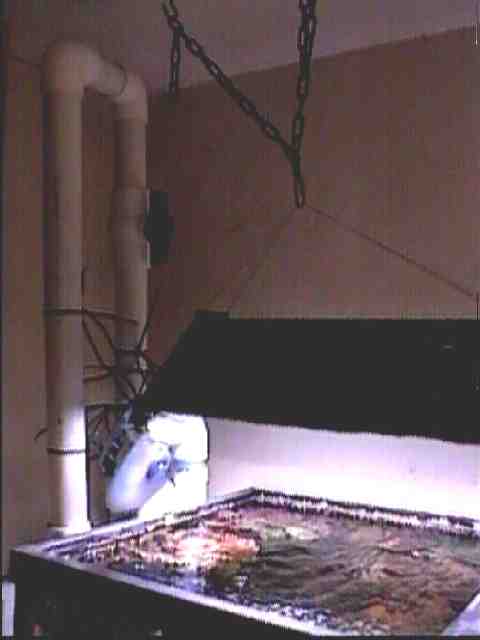
Water flows through the coral, and down the overflow to the sump.
|
This is like egg-crate lighting panel, only I made it out of portand cement. You can easily make yours out of egg-crate lighting panel like normal people do.
|
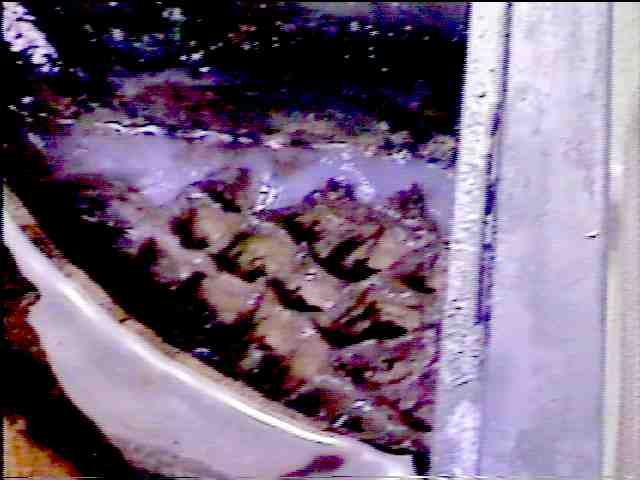
This is where the water from the overflow goes into the sump. Again, while I used both bulk-head fittings, only one needed to be used. In the 3rd cement tank, I only used one.
|
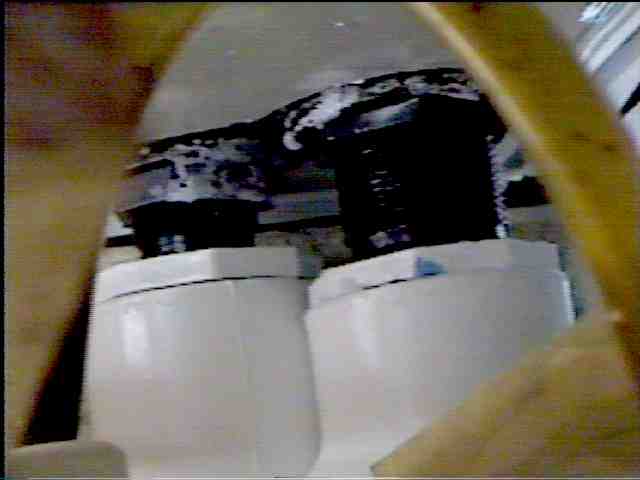
The foamy overflow water feeds into the home made protein skimmer. This skimmer processed 1,000 gallons per hour.
|
< 
Notice the bag of carbon (pantyhose filled with carbon) on top of the skimmate collection container. This does a great job of filtering the smelly air exiting the container.
|
|